VFX Tutorial: How to Make a DIY Green Screen

Learn to make a green screen and integrate your digital compositions with material you can easily find at home
Video cameras and digital video editing programs mean that anyone can make effects that just a few decades ago were only achievable for huge production companies in the comfort of their own homes. Among those, the green screen sticks out: an element that allows us to integrate backdrops in our digital compositions, making it possible to put our characters in any situation we can imagine.
Juan Olivares (@juanolivares), digital VFX designer, shows us how to make our own homemade green screen and create incredible scenes in our videos. Find out how in the video below:


2. Prepare the shot
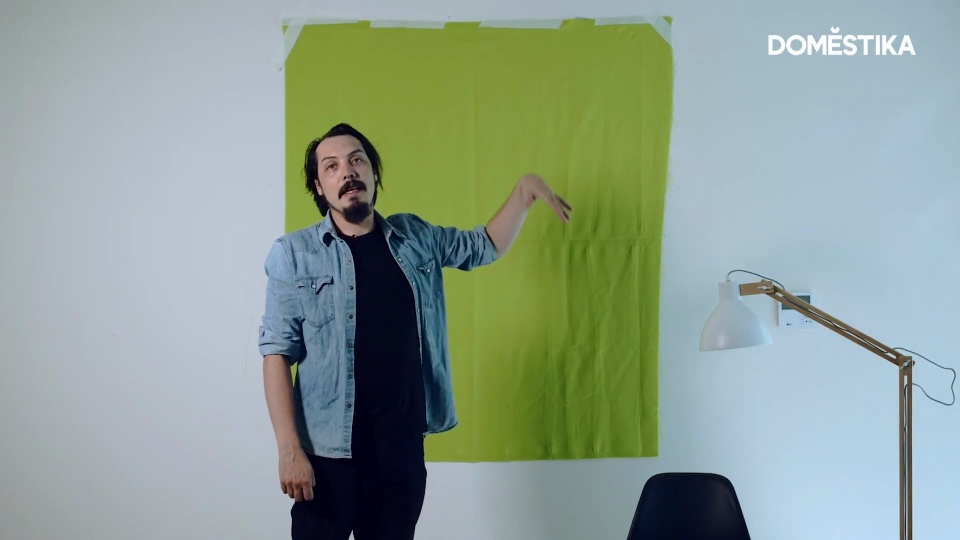
Stick the screen to the wall with tape and turn on the light to illuminate your scene. If you can open a window to let natural light in, even better (if you want it to look like daytime, daylight is obviously going to be the best option).


3. Situate your character
Place your character in front of the screen: for this shoot, Juan decided to place his with their back to camera so he could shoot it from that perspective as that will work best with the material he will integrate later.

4. Shoot your character
Shoot your character, making sure you get varied shots (general, close up, foreground, whatever you need). Ensure the movement of your camera corresponds with the imagery in the material you're going to integrate.
Remember to also record a shot without your character in, just with the green screen. That will serve as a reference and will help you when you're cutting the scene later.


If you want to learn the foundations and basic techniques for composing a VFX shot with Nuke, check out Juan's online course Introduction to Digital Compositing in Post-production.
You may be interested in:
- Introduction to VFX for Cinema, a course by Carolina Jiménez
- Creation of Shots with VFX in Nuke, a course by Ramón Cervera
- Integration of 3D Elements Using VFX Techniques, a course by Xuan Prada.


0 comments