Illustration Tutorial: How to Create Color Palettes from Images

Learn to make color palettes for your designs from the colors and images that inspire you with Catalina Estrada
The colors we choose for our illustrations say a lot about our style and give a unique touch to anything we want to represent. The one-color palette will transmit a series of sensations completely different from those that other tones would achieve. Therefore, knowing which colors we want to use in our illustrations, and being able to choose them well, as the Adobe Capture app allows us to do with images, will help us make our mark on our work.
In the following video tutorial, illustrator and print designer Catalina Estrada (@catalinaestrada) explains how to use Adobe Capture and Illustrator to import color palettes from our favorite photographs, to be used in an illustration. Watch the video below:
Creating color palettes
To get started, all you need is a smartphone with a camera and the Adobe Capture app installed. In the app's Colors menu, you can take a photo containing the tones you're interested in or import one from your reel.

Catalina, for example, has imported a photograph of a plant known as a bloodroot. Once you have chosen the image, select the palette option that will give you a selection of five distinct colors. You can move the different circles that appear automatically on the image to choose the shades that interest you from the photo. When you are satisfied, press Ok.


In the following Edit menu, you can modify the different tones to your liking. Once you are ready, press Save to save the palette. Name the palette and, in the Save To tab, choose the Creative Cloud library as its location. Catalina has named her project Domestika.

Your new palette will then be available in the Library section of Adobe Illustrator (you can open it through the top toolbar, in the Windows dropdown).

Using color palettes
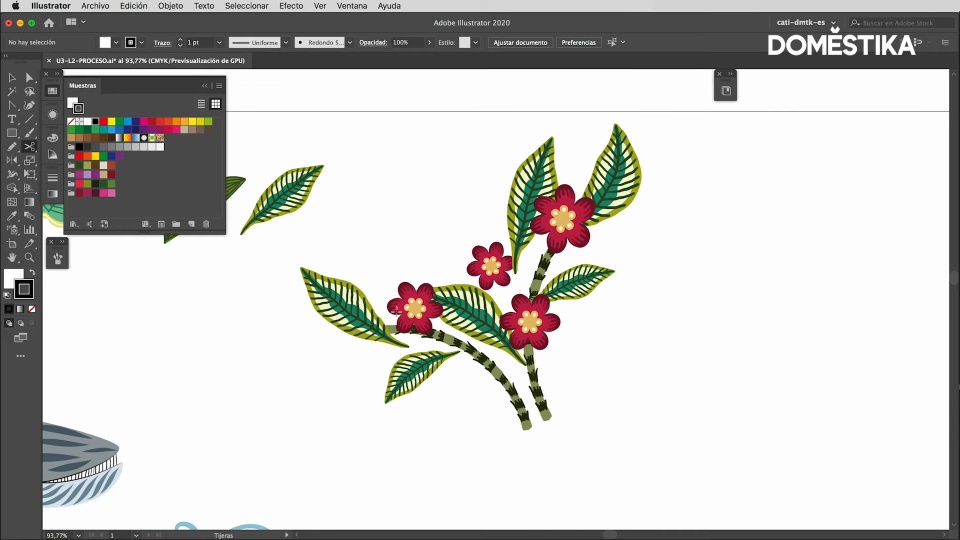
Now you have the palette imported into your Library window, you can open the Samples menu and, keeping Ctrl pressed, click on your palette in Libraries and select Add Theme to Samples. The palette will automatically be added to your Swatches.
Then, select the area of the illustration you want to apply your color palette to, and go to the Recolor tool at the top of the window. A menu will appear where you can choose the different imported palettes you want to apply to the selected part of the image. You can change which color is assigned to each part, manually or randomly, at the bottom of the drop-down menu.

If you want to go deeper into the tool, you can enter the Edit menu, to use the Color Wheel, to modify the colors while keeping them coherent, or the Color Bar option, where you can continue modifying the tones manually.


In the same dropdown, the Color Reduction Options tool will allow you to include or exclude white, gray, and black shades so that the colors in the palette you choose do not replace them and remain in the final illustration.

If there are any changes that don't convince you, you can return to the original colors by pressing the small Eyedropper icon at the top right of the drop-down menu.
Did you like this tutorial?
You can learn more from Catalina Estrada about developing your own graphic language through patterns on her online course: Illustration for Patterns with Soul.
You may also like:
- Introduction to Adobe Illustrator, six courses by Aarón Martínez
- Adobe Illustrator for Graphic Design, six courses by Valeria Dubin


1 comment
displayname125929
Staff Plus