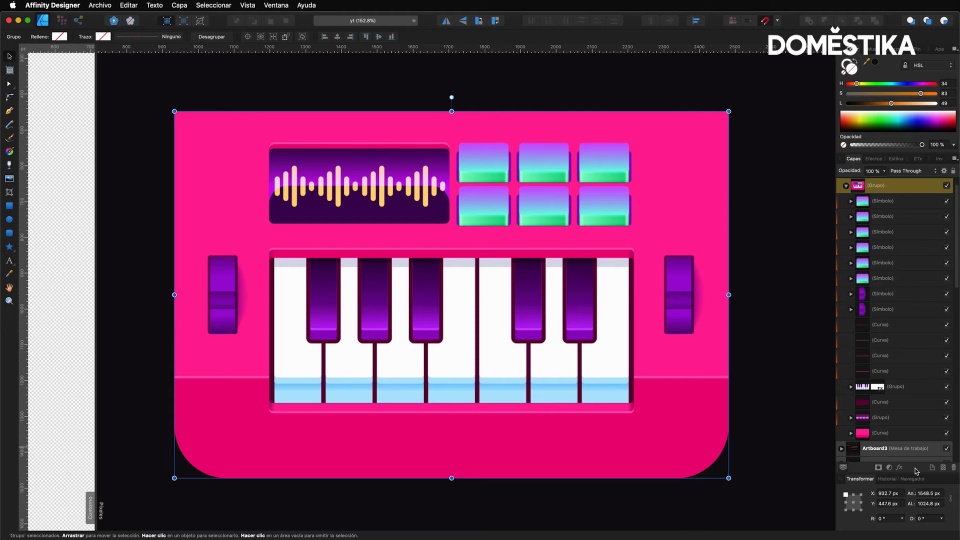
Affinity Designer Tutorial: 10 Key Basics for Beginners

Learn the basics you need to know to unlock this vector design package, with Ros
Affinity Designer is a revolutionary vector design package that has won the industry’s most prestigious awards, including the Apple Design Award and the Windows Developer Award, since its 2014 launch. But how does this alternative to Illustrator work? Ros (@ros_vectors) is a vector master and graphic designer who specializes in data visualization and high-end presentation design. In this tutorial, he tells you what you need to know to get started with Affinity Designer.
Watch the following video:
10 Key Affinity Designer Basics for Beginners
1. Vector design using Photoshop
Affinity Designer is an alternative to Illustrator that also uses certain elements from Photoshop. Standard vector design features are joined by others more focused on image editing, such as Gaussian blur, noise adjustment, layers and a select retouching workbench. It also allows you to trim images accurately using its trim and selection tool.

2. Compatible with other formats
Affinity Designer allows you to import the vast majority of vector and raster files. There’s no point using a powerful program if it can’t manage existing formats, and this package is great at compliance.

3. Advanced export
This package can export files in multi-layer, editable formats, like psd and vector-based pdf. It also includes an environment that allows you to export layers and sectors in different layers and formats in batches.

4. The vector pen
You have to handle the pen well to make vector lines. This package includes three different versions: pencil, pen, and paintbrush. Each one has different characteristics that make them ideal for various tasks. And if you combine these three tools with the node tool, you can create and edit all kinds of strokes.

5. Vector shapes are intelligent
Every shape has different, editable properties. Smart rulers allow you to remain faithful to the object’s geometry.

6. Adjust any color, at any time
Affinity Designer also makes it easy to edit any color in the image, thanks to its 22 adjustment layers. This means you can completely change the appearance of your selected object in a non-destructive manner, without altering the real value of the colors. And you can move the layers from one object to another by simply dragging.

7. Power duplication
This is one of Affinity Designer’s most attractive features. Power duplication allows you to create a series of repeating patterns. Use Command+J to duplicate.

8. Icons make life easier
Icons are synchronized objects, so every copy is updated in real time. This is very useful in projects where there may be lots of changes. You can also create a different version of the same icon, which will continue to reflect all changes even though it’s not identical. It’s as easy as modifying the object with synchronization paused.

9. Isometric drawing is very easy
The program allows you to work on all types of grids, including two types of isometric grids. It’s also very easy to design on each plane, simply select each one and allow yourself to be guided by the smart rulers.

10. Multiple paths, a single document
Last but not least, this software allows you to view the change history as a list, and to navigate between the changes with a slider.

Did you like this tutorial? If you’d like to learn how to use this software from scratch with Ros, to elevate the quality of your vector designs and improve your productivity, don’t miss his online course: Introduction to Affinity Designer.
You may be interested in:
- Introduction to Adobe Illustrator, with Aarón Martínez.
- Adobe Illustrator for Graphic Design, with Valeria Dubin.
- Vector Illustration for Film, with Wes Art Studio.


1 comment
displayname1570703
A little bummed that y'all are a little behind on the difficulty levels for Affinity. Only one course available and it is a beginner's course.