Chair Restoration and Upholstery
Course final project
A course by user2885880 surname2885880 , Upholsterer and Entrepreneur
Joined May 2020
Recycle and refurbish your old furniture to give it a second life
About the final project for: Chair Restoration and Upholstery
Chair Restoration and Upholstery
“Now, we have reached the end of the course. I hope that everything you have learned in the course has helped you to encourage you to renew your own chairs and that you manage to find that inspiration to put all of yourself into it. Next, we are going to review the different steps to follow to develop your final project, so that you can revive and leave an old chair as new. Choose your chair As I recommended, the ideal is for you to scan your furniture so you can see everything it needs you to do. Then you can think of different ideas about how you would like to do it. I suggest you have a plan b in case the first idea does not convince you. I chose an old chair, in the Louis XV style.
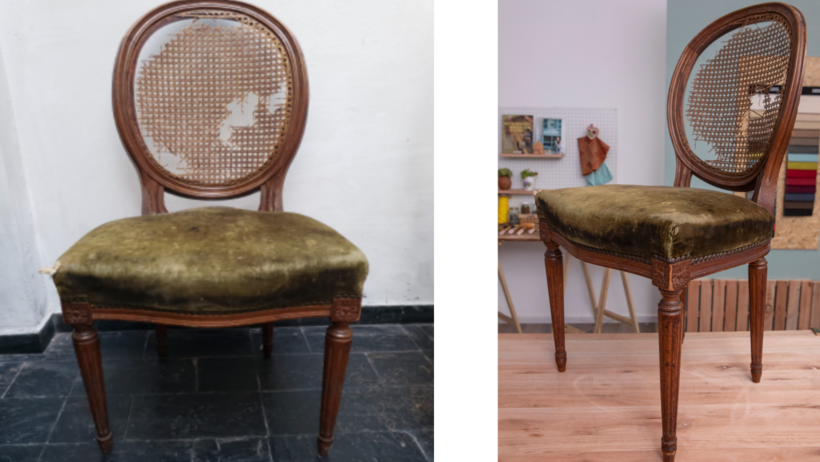
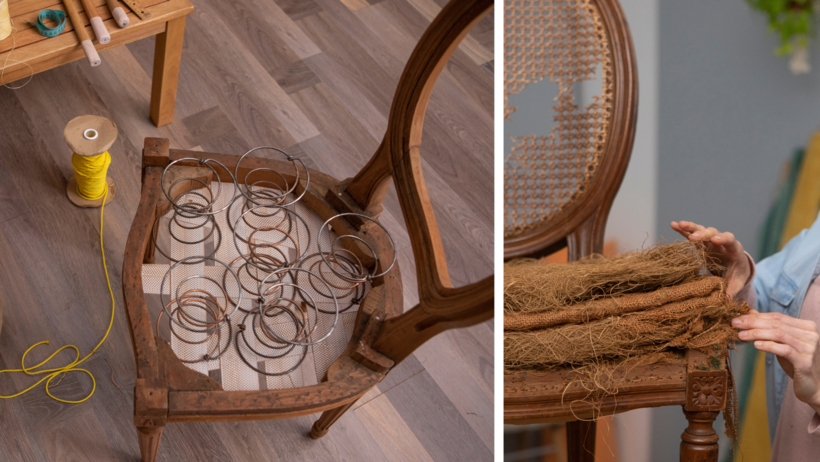
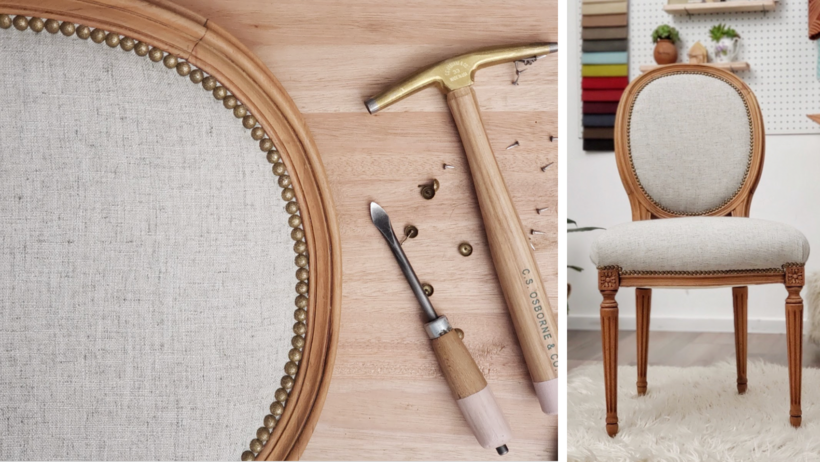
Let's get to work! The structure and design of your chair can be any, the difference you will have is whether or not it has springs, also whether or not it has an original fazon or old foam rubber. In my case I reused the springs and the old fazon. If it does not have a fazon, replace it with a good 4cm or 5 cm foam rubber plate, remember that you are also going to add a smaller 2cm block. On the other hand, it is important that the straps are tight and that you put an old fabric before the fazon or foam rubber, whether or not the chair springs. Prepare the wood Remember that to prepare the wood, whether you want to leave it in its natural tone, give it protection or if you prefer to paint it, you have to do this process before starting to upholster it. I decided to leave the chair in a natural wood tone, but I could have used paint that looks super nice. In this part let your imagination fly and pay attention to your own taste. If you have doubts, try one part before painting everything so that if you don't like it you can go back and wash the wood. Another tip for choosing how the wood will look could be to look for similar chairs on Pinterest and see which ones you like best before trying on your own chair. Pay attention to gluing, see if it needs to be reinforced, spend time and let it dry well, it is ideal to do it before sanding or painting. The last details! Once you have the wood for your chair ready and you assemble the seat, it is time to put the fabric! You can choose a chair that only has upholstery on the seat and that way it will be easier for you to start. For the part of the ending, if you choose studs I suggest you do it only in one part because it will also be easier if you are starting, but if you dare… make it complete !! Remember that you have to be patient since it is something that takes a lot of practice, so the option of finishing with a ribbon or gallon is also super practical. It is key that you mark the fabric before stapling it, that way it is easier to correct if it is wrong. In addition, removing seeds is faster than removing staples and by the way you do not spend so much and avoid that later they are not useful. You can put the seeds back in because they are like a kind of pin. Finally, it is always necessary to place the final canvas or stabilizer at the bottom, the fabric you choose has to have an open point to allow all the padding of the chair to 'breathe'. And voila, you have your final project! As you will see, the processes are always similar, what changes is the size and your own choice, whether of materials or the design of its final aesthetic. There are several ways of doing the same processes that I taught you, so it is good to know them and choose which one is easier for you.If you liked this trade a lot, do not hesitate to continue learning, in the world of traditional upholstery there are many handcrafted details of the that you are going to fall in love. Learn to look, pay attention to details, make mistakes, try, practice, pay attention to the unarmed; (because that way you learn a lot), take photos of your processes so you don't forget the steps. I recommend that while you disassemble you take many photos because that way you will be able to copy the way it was made, but adding new materials. I hope that all this helps you to awaken that seed of recycling and upholstery because once you discover what you are capable of doing with your hands, you will be very proud or proud of yourself, and you will not want to stop recovering furniture !!! Do not forget to upload your final project, I am eager to see the results you have achieved, see you soon in the forum! Fondly, Lucia Giraudo.”Partial transcription of the video
“Final Project We've come to the end. We'll briefly go over what we did. I chose an antique chair for this project. For starters, we asked ourselves a few questions. How was the structure? Would I need to glue it? Would I need to sand it? What kind of stuffing did it have? We disassembled it and decided what we'd reuse. We stapled the webbing, sewed and tied the springs, put the main stuffing, foam, wadding, and we finished with the fabric. Remember it's very important to fasten the fabric with the nails. We did the same with the back and put the final canvas. Lastly, we used decorative tack...”
This transcript is automatically generated, so it may contain mistakes.
Course summary for: Chair Restoration and Upholstery
-
Category
Craft -
Areas
Arts & Crafts, DIY, Furniture Design & Making, Interior Design, Upcycling, Woodworking
A course by user2885880 surname2885880
Lucia Giraudo is an entrepreneur from Argentina who, after a long professional search, found her calling in upholstery and recycling old furniture. Most of the knowledge and techniques she uses have been developed from her experience.
She is passionate about fabrics, textures, paints, and colors. She works on each project with special care and attention, adapting to the unique needs of each client. She enjoys giving a new life to furniture and keeping its history alive by updating them with new techniques and finishes.
- 99% positive reviews (695)
- 16,094 students
- 18 lessons (2h 37m)
- 16 additional resources (8 files)
- Online and at your own pace
- Available on the app
- Audio: Spanish, English
- Spanish · English · Portuguese · German · French · Italian · Polish · Dutch
- Level: Beginner
- Unlimited access forever